The Anatomy of an Attic Drip: Why Your Joints are Failing
I walked onto a job last Tuesday in the suburbs where the homeowner was convinced he needed a whole new roof. He had a bucket in the hallway and a look of pure defeat. Walking on that roof felt like walking on a sponge; I knew exactly what I’d find underneath before I even pulled my bar. It wasn’t a total system failure—it was a forensic disaster at the attic joint seals. When you have a roof that meets a vertical wall or a gable transition, you’re looking at the most vulnerable real estate on your house. Water doesn’t just fall; it creeps, it sucks, and it finds every ‘shiner’—that’s a missed nail for you civilians—left behind by a crew that was more interested in finishing lunch than hitting the rafter.
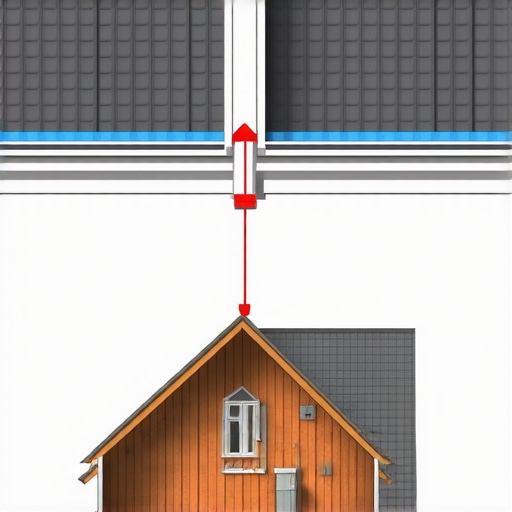
In the North, where the temperature swings can turn a roof deck into a sheet of ice overnight, these joints are under constant thermal stress. We aren’t just fighting rain; we are fighting the laws of physics. Capillary action is the silent killer. It’s the process where water gets pulled upward between two tight surfaces, defying gravity to rot out your plywood. If your attic joint seals aren’t integrated into the drainage plane, that water is going into your insulation, not your gutters.
“A roof is only as good as its flashing.” – Old Roofer’s Adage
1. The Step Flashing Overhaul: Beyond the Caulk Gun
The biggest mistake I see from ‘trunk slammer’ roofing companies is the over-reliance on a tube of solar seal. Caulk is a maintenance item, not a structural water barrier. To truly stop water entry at an attic joint, you need individual pieces of L-shaped step flashing woven into every single course of shingles. This creates a series of miniature waterfalls that guide moisture down the roof. When I find hidden rafter rot, it’s almost always because someone used a single 10-foot piece of ‘L’ metal instead of stepping it. That long piece expands and contracts at a different rate than the wood, eventually tearing the seal and inviting the rot in for a permanent stay.
2. High-Temperature Ice and Water Shield at the Transition
If you’re in a climate where ice dams are a threat, standard felt paper at a joint is like bringing a knife to a tank fight. You need a self-adhering, high-temp membrane that goes up the wall at least 8 inches and onto the deck. This stuff acts like a gasket. When you drive a nail through it, the modified bitumen squeezes around the shank, sealing it off. Without this, the ‘thermal bypass’—the heat escaping from your attic—melts the bottom of the snowpack, sending liquid water uphill under your shingles. It’s why you see water stains on your ceiling even when the sun is out.
3. The ‘Kick-Out’ Flashing: The Forgotten Hero
Have you ever seen a dark, ugly stain running down the siding where a roof edge meets a wall? That’s a failure of the kick-out flashing. This small piece of metal is bent to steer water away from the wall and into the gutter. Local roofers who skip this step are basically funneling thousands of gallons of water directly into your wall cavity. I’ve seen 2x4s that looked like wet cardboard because a $10 piece of metal was missing. You have to force the water to jump off the roof and stay clear of the vertical joint.
“Flashings shall be installed in a manner that prevents moisture from entering the wall and roof through joints in copings, through moisture-permeable materials and at intersections with dissimilar materials.” – International Residential Code (IRC) R903.2
4. Managing Thermal Bridging and Attic Bypasses
Water entry isn’t always from the sky; sometimes it’s from inside your own house. In cold climates, warm air leaks into the attic through unsealed joints (bypasses). This air hits the cold underside of the roof deck and turns into frost. When that frost melts, it looks like a roof leak. You can spend $20k on a new roof and still have a ‘leak’ if your attic vents and joint seals aren’t airtight from the bottom up. We use canned foam or rigid board to seal those gaps where the top plate meets the drywall. If you don’t stop the air, you won’t stop the moisture.
5. Custom Crickets for Large Chimneys and Wide Joints
When an attic joint or chimney is wider than 30 inches, the IRC demands a ‘cricket’ or a saddle. This is a mini-roof built behind the obstruction to split the water flow. Most ‘cheap’ roofing companies just pile on the mastic and hope for the best. A real pro builds a wooden frame, decks it, and flashes it like a primary roof. Without a cricket, water ponds in that joint, building hydrostatic pressure until it finds a way through the shingle laps. If you’ve noticed poor ridge vent sealing near your transitions, the pressure from ponding water will eventually blow out those seals too.
The Cost of Ignoring the Small Gaps
Roofing is about managing energy—both the energy of moving water and the energy of heat. When those attic joint seals fail, it’s rarely a catastrophic flood on day one. It’s a slow, rhythmic decay. It’s the smell of mold in your hall closet that you can’t quite place. By the time you see the brown ring on the ceiling, the plywood has likely already lost its structural integrity. Don’t let a ‘pro’ tell you they can fix it with a bead of caulk. If you aren’t seeing metal, you’re seeing a future bill for a full tear-off. Real roofing happens at the transitions; the rest is just nailing down squares.