The Anatomy of a Failure: When Attic Joints Turn Against You
I’ve spent twenty-five years climbing ladders in New England winters, and if there’s one thing I’ve learned, it’s that water doesn’t need a door; it just needs a microscopic invitation. My old foreman, a man who could smell a leak from the driveway, used to say, ‘Water is patient. It will wait for years for you to make a single mistake with a hammer.’ He was right. Most homeowners think a leak is a hole in a shingle. It’s rarely that simple. Usually, it’s a failure of physics at the attic joint seals—those high-stress intersections where different planes of your roof meet, or where the roof greets a vertical wall. When the mercury drops and the wind starts howling off the coast, those joints are the front lines of a war your house is currently losing.
Walking into a cold attic and smelling that unmistakable scent of damp, fermented sawdust is the first sign of a ‘forensic’ disaster. You see a stain on the ceiling and think it’s a roof leak. I go up there and see hydrostatic pressure and capillary action. Water doesn’t just fall; it climbs. It gets sucked upward under shingles by the same force that pulls ink into a paper towel. If your attic joints aren’t sealed with surgical precision, you aren’t just dealing with a drip; you’re dealing with structural rot that eats your home from the inside out.
“The primary purpose of a roof is to shed water, but its secondary, and often more difficult, purpose is to manage the transition between materials.” – Architectural Axiom
1. Mastering the Gable-to-Wall Intersection
The gable end of a house is a massive wind-catcher. In cold climates, wind-driven snow gets forced into the tiny gaps where the roof deck meets the gable wall. Most roofing companies slap some caulk here and call it a day. That caulk lasts two seasons before the 140°F summer attic heat bakes it into a brittle cracker. To stop water fast, you need a multi-layered defense. This starts with high-quality flashing. If the transition isn’t integrated into the siding, water will track behind the ‘J-channel’ and rot your rim joist. I’ve seen shiners (nails that missed the rafter) acting like little steel straws, dripping condensation onto the insulation for months before anyone noticed. Proper gable vent sealing is your first line of defense against this atmospheric intrusion.
2. The T-Joint: Where Ridges and Gables Collide
The ‘T-Joint’ is the most common site of catastrophic failure I find during a forensic autopsy. This is where a lower ridge line meets a higher roof plane. If the roofer didn’t use a cricket—a small peaked structure designed to divert water—you have a stagnant pool situation every time it rains. Water hits that wall, loses its velocity, and starts looking for a way in. In cold climates, this is where ice dams are born. The heat escaping from your attic melts the snow, which then refreezes at the cold joint. If you don’t have a double layer of synthetic underlayment and a heavy-duty ice and water shield at this junction, you’re essentially living under a ticking time bomb.
3. The Physics of Flashing and Capillary Gaps
Most ‘local roofers’ understand that metal stops water, but they don’t understand how it moves. Capillary action can pull water two inches uphill if the gap between the shingle and the flashing is too tight. I always look for ‘kick-out’ flashing. Without it, water running down a roof-to-wall joint is funneled directly into the siding and behind the house wrap. It’s a silent killer. This is a primary reason for flashing failure that leads to thousands of dollars in hidden rot. You don’t just need metal; you need the metal to be shaped to fight gravity and surface tension.
“A roof is only as good as its flashing.” – Old Roofer’s Adage
4. Air Sealing: The ‘Attic Bypass’ Menace
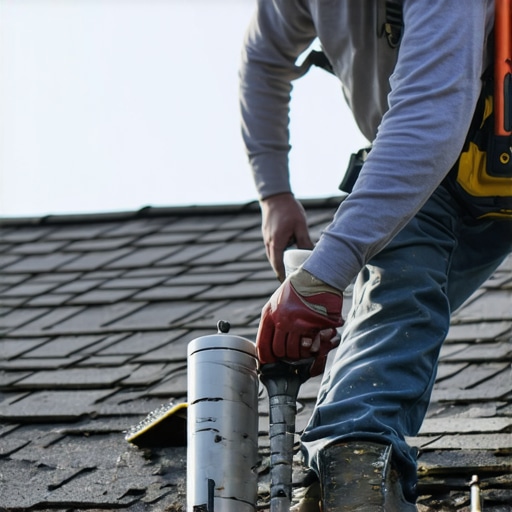
You might think water entry always comes from the outside, but in cold zones, the enemy is often within. This is the ‘Attic Bypass.’ Warm, moist air from your shower or kitchen leaks through the attic joint seals—specifically around top plates and plumbing stacks. This air hits the freezing underside of the roof decking and turns instantly into frost. When the sun hits the roof the next morning, that frost melts, creating a ‘leak’ that happens even when it isn’t raining. To stop this, you need to seal those joints with canned foam or fire-rated caulk from the attic side. Many ridge vent sealing techniques focus on keeping rain out, but they must also allow that internal moisture to escape before it kills your plywood.
5. Managing the Valley Seams with Precision
The valley is the highway of your roof. It carries the highest volume of water. If the joint where two valleys meet at the top isn’t sealed with a heavy-duty membrane, the ‘splash-over’ effect will drive water under the shingles of the opposing slope. I’ve opened up roofs where the valley metal was installed correctly, but the shingles weren’t trimmed back far enough, creating a ‘damming’ effect that forced water sideways. Implementing fixes for loose valley flashing early can save the entire structure from a premature tear-off. You need a clean, wide channel for water to move fast and exit the roof before it has a chance to infiltrate the joints.
The cost of waiting is never just the price of a few shingles. It’s the cost of replacing the black-mold-ridden insulation, the saturated drywall, and the structural rafters. When you hire a crew, don’t ask them how many squares they can lay in a day. Ask them how they handle the transitions at the attic joints. If they start talking about ‘plenty of caulk,’ tell them to get off your property. You want a mechanic, not a painter. You want someone who respects the physics of water and the unforgiving nature of a New England winter.
{“@context”:”https://schema.org”,”@type”:”HowTo”,”name”:”How to Stop Water Entry at Attic Joint Seals”,”step”:[{“@type”:”HowToStep”,”text”:”Install kick-out flashing at all roof-to-wall intersections to divert water away from the siding.”},{“@type”:”HowToStep”,”text”:”Apply a double layer of ice and water shield membrane at all valley and ridge-to-gable transitions.”},{“@type”:”HowToStep”,”text”:”Air-seal the attic floor and top-plate joints from the interior to prevent condensation leaks.”},{“@type”:”HowToStep”,”text”:”Construct a cricket at any wide chimney or ridge intersection to prevent stagnant water pooling.”},{“@type”:”HowToStep”,”text”:”Trim shingles back from the center of valleys to ensure a wide, unobstructed path for high-volume drainage.”}]}