The Autopsy of a Failure: Why Your Living Room Ceiling is Drip-Feeding You
Walking on a roof in late November in the Northeast feels a lot like walking on a giant, frozen sponge if the contractor didn’t know what they were doing. I remember a job in Worcester where the homeowner was convinced their shingles were shot. I stepped onto the roof deck near the plumbing stack, and my boot sank two inches. That sickening squelch sound isn’t something you forget. It’s the sound of $5,000 worth of plywood turning into mulch. When we pulled the shingles back, the culprit wasn’t a hole; it was physics. Specifically, it was a ‘shiner’—a nail driven just a half-inch off-target into the flashing—that had been pulling moisture into the attic for five years like a thirsty straw. Most local roofers will slap a tube of caulk on a vent and call it a day, but that’s just putting a Band-Aid on a bullet wound. In 2026, with weather patterns becoming more erratic, you can’t afford the ‘caulk and walk’ approach. You need to understand the mechanics of how water actually defeats your roof’s defenses.
The Physics of the Leaky Vent: Capillary Action and Hydrostatic Pressure
Water doesn’t just fall down; it crawls. Through a process called capillary action, moisture can actually travel uphill between two tightly sandwiched surfaces, like a vent flange and a shingle. When wind-driven rain hits a roof vent at 40 miles per hour, it creates hydrostatic pressure. If your roofing companies didn’t install a secondary barrier, that water is forced under the flashing, where it hits the nail penetrations. This is where ‘Mechanism Zooming’ matters. Once the water finds a nail hole, it follows the shank of the nail down through the roof deck. From there, it hits the rafters. It might travel ten feet down a rafter before it finally drips onto your insulation. This is why the spot on your ceiling almost never matches the location of the leak on the roof. It’s a forensic puzzle that requires more than just a ladder; it requires an understanding of fluid dynamics.
“Flashings shall be installed in a manner that prevents moisture from entering the wall and roof through joints in copings, through moisture-permeable materials and at intersections with vent pipes.” – International Residential Code (IRC) R905.2.8.2
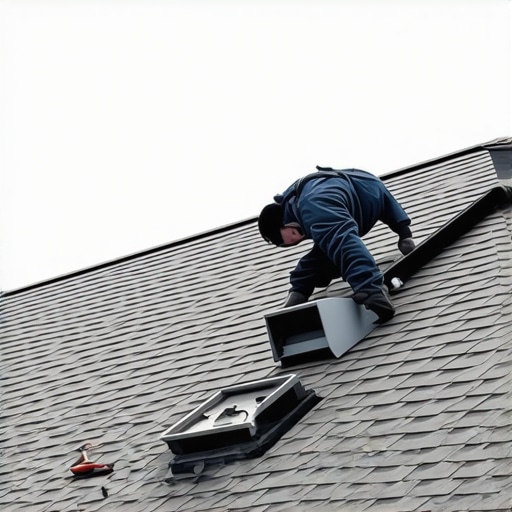
Fix #1: The Permanent Boot Upgrade (Killing the Rubber Gasket)
The standard ‘pipe boot’ used by 90% of roofing companies is a piece of aluminum with a neoprene rubber gasket. In the brutal freeze-thaw cycles of the North, that rubber has a lifespan of about seven to ten years. UV rays bake it until it’s brittle, then the winter ice expands the pipe, cracking the seal. By 2026, we should be done with these. The professional fix is a lead boot or a high-grade silicone ‘Perma-Boot.’ Lead is toxic to squirrels (who love to chew on it) but it’s impervious to UV. If you’re sticking with modern materials, a double-gasket system with a storm collar is the only way to go. You slide the collar over the pipe above the main boot, creating a secondary umbrella. Even if the primary seal fails, the collar sheds the water over the edges. It’s the difference between wearing a raincoat and just holding a newspaper over your head.
Fix #2: The Ice and Water Shield ‘Picture Frame’
Most local roofers just nail the vent over the felt paper. That’s a rookie mistake. To truly seal a vent, you need to ‘picture frame’ the penetration with a self-adhering polymer-modified bitumen membrane—what we call Ice and Water Shield. You don’t just put it under the vent; you integrate it. You cut a square of membrane, hole-punch the center for the pipe, and bond it directly to the wood deck. Then, you install the vent, and apply another layer of membrane over the top and side flanges, leaving the bottom flange exposed so water can escape. This creates a waterproof sandwich. Even if a shingle blows off, that vent is essentially part of the deck. This is a standard requirement for any reputable roofing company working in high-wind or snow-load zones.
Fix #3: The Attic Bypass and Thermal Seal
Sometimes, a ‘leaky vent’ isn’t a leak at all—it’s a ghost. In cold climates, warm air from your bathroom or kitchen leaks into the attic through gaps around the vent pipe. This is known as an ‘attic bypass.’ That 140°F attic air hits the underside of the cold roof deck and turns into frost. When the sun hits the roof the next morning, that frost melts all at once. It looks like a massive roof leak, but the shingles are actually bone dry. To fix this, you have to go into the ‘hot zone’—the attic. We use fire-rated expanding foam or rockwool insulation to seal the gap between the pipe and the ceiling joists. If you don’t stop the air leakage, no amount of exterior roofing work will stop the ‘dripping’ in your kitchen. This is the forensic detail that separates the pros from the guys with a truck and a hammer.
“A roof system is an integrated assembly of many components. The failure of even the smallest flashing element can lead to the premature degradation of the entire structural deck.” – National Roofing Contractors Association (NRCA)
The Trap: Why Your Warranty Won’t Save You
Many roofing companies brag about ‘Lifetime Warranties.’ Here is the trade secret: those warranties cover the shingles, not the flashing. If a pipe boot fails because it was installed poorly, the manufacturer will laugh you off the phone. They’ll tell you it’s an ‘installation error,’ which isn’t covered. This is why you need to vet your local roofers based on their flashing details, not their shingle brands. Ask them how they handle the ‘cricket’ on a chimney or if they use ‘shiners’ during installation. If they look at you sideways, move on. You’re looking for the guy who obsesses over the plumbing stacks, because that’s where the real war is won. Don’t wait until you’re putting buckets out in a midnight rainstorm. A proactive inspection of your vents in 2026 will save you a $20,000 deck replacement in 2028. Real roofing isn’t about the squares you lay; it’s about the holes you seal.