The Sound of Structural Surrender: When Your Roof Starts to Dip
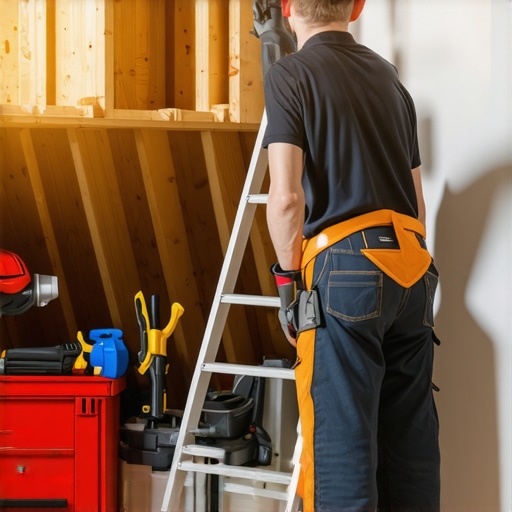
I was standing in an attic in Maine last February, and the air didn’t just smell like old insulation; it smelled like a wet forest floor. Walking on that roof felt like walking on a sponge. I knew exactly what I’d find underneath. When you feel that give under your work boots, it’s not just the shingles failing—it’s the lignin in the wood rafters surrendering to decades of thermal abuse and moisture infiltration. If you’ve looked up in your attic and noticed the horizontal lines of your decking look more like a suspension bridge, you aren’t just looking at a cosmetic flaw. You are looking at a structural emergency that most roofing companies won’t explain properly because they’re too busy trying to sell you a 30-square shingle swap. To understand why your rafters are sagging, we have to look at the forensic physics of wood failure in cold climates.
“The roof shall be designed to support the design dead load… and the design live load or snow load, whichever is greater.” – International Residential Code (IRC) R802.2
In the North, the enemy is often the ‘Attic Bypass.’ This is when warm, moist air from your shower or kitchen sneaks past the insulation and hits the underside of the cold roof deck. It condenses, turns into frost, and then thaws, soaking into the plywood or 1×6 boards. Over time, this cycle creates micro-delamination. If your local roofers didn’t install a proper vapor barrier or if they missed a ‘shiner’—a nail that missed the rafter and now acts as a thermal bridge—you’re going to see hidden decking plywood decay. When that wood gets saturated, it loses its structural shear strength. Combine that with a three-foot snow load, and those rafters start to bow under the static weight.
Step 1: Immediate Load Assessment and Triage
The first thing you do when you spot a sag is not call an insurance adjuster; it’s to determine if the collapse is imminent. You need to look at the rafters—the ‘bones’ of the roof. Are they cracked? Is the ‘birdsmouth’ cut at the wall plate splitting? If the sag is happening fast, you have to relieve the external pressure. This means getting the snow off the roof if it’s winter, but do not do this yourself. A sagging roof is an unstable roof. Professional roofing teams use specialized rakes and techniques to avoid putting more weight on the failing structure. If the decking is undulating between the rafters, the issue might just be the plywood. If the rafters themselves are bowing, you have a primary load-bearing failure that requires shoring up from the inside using temporary ‘Lally columns’ or 4×4 posts to transfer the weight to the floor joists below.
Step 2: Identifying the Moisture Source (The Forensic Autopsy)
Water doesn’t just sit; it travels through capillary action. If you see sagging near the ridge, check your ventilation. Many poor ridge vent sealing jobs lead to water backing up under the cap shingles. If the sag is near a chimney or a wall, look for the ‘cricket.’ A cricket is a small peaked roof structure behind a large chimney designed to divert water. If it’s missing or flashed poorly, water pools there, rots the decking, and eventually softens the rafter. You might also find that loose rotted fascia boards are allowing water to wick back up into the rafter tails, causing them to drop at the eaves. This isn’t a leak you can fix with a tube of caulk; it’s a structural compromise that requires ‘sistering’ new lumber alongside the old, damaged rafters.
Step 3: The Surgery – Sistering vs. Replacement
When you call in local roofers, watch how they inspect the sag. A ‘trunk slammer’ will tell you they can just roof over it. Run away from that contractor. Adding a second layer of shingles to a sagging roof is like putting a heavy backpack on a man with a broken spine. The ‘surgery’ involves removing the shingles and the rotted decking to expose the rafters. We then ‘sister’ the rafters—bolting a new, straight piece of lumber to the side of the sagging one to pull it back into alignment and restore its load-bearing capacity. This is also the time to address any signs of poor underlayment that allowed the moisture in initially. Modern synthetic underlayments are far superior to the old organic felt that dries out and cracks, but even the best material won’t save a roof that isn’t breathing correctly.
“A roof is only as good as its flashing.” – Old Roofer’s Adage
Step 4: Hardening the Structure for the Future
Once the bones are fixed, you have to stop the physics of failure from repeating. This means looking at your insulation and ventilation balance. If your attic is too warm, you’ll get ice dams. If it’s too humid, you’ll get rot. You should consider attic decking rafter repair that includes high-performance venting. Don’t let a contractor talk you into a ‘lifetime warranty’ without seeing a detailed plan for how they will handle the transition at the valleys and the gables. Most warranties are marketing fluff that won’t cover ‘structural movement’ or ‘acts of God,’ which is exactly how they’ll categorize a sagging rafter caused by poor ventilation. You need a contractor who understands the IRC codes and doesn’t cut corners on the ‘bones’ to save a few bucks on the ‘skin.’ Waiting even a month can turn a $2,000 rafter repair into a $25,000 full-scale structural collapse. If you see the dip, act now.